IdeaVaultHQ Template School
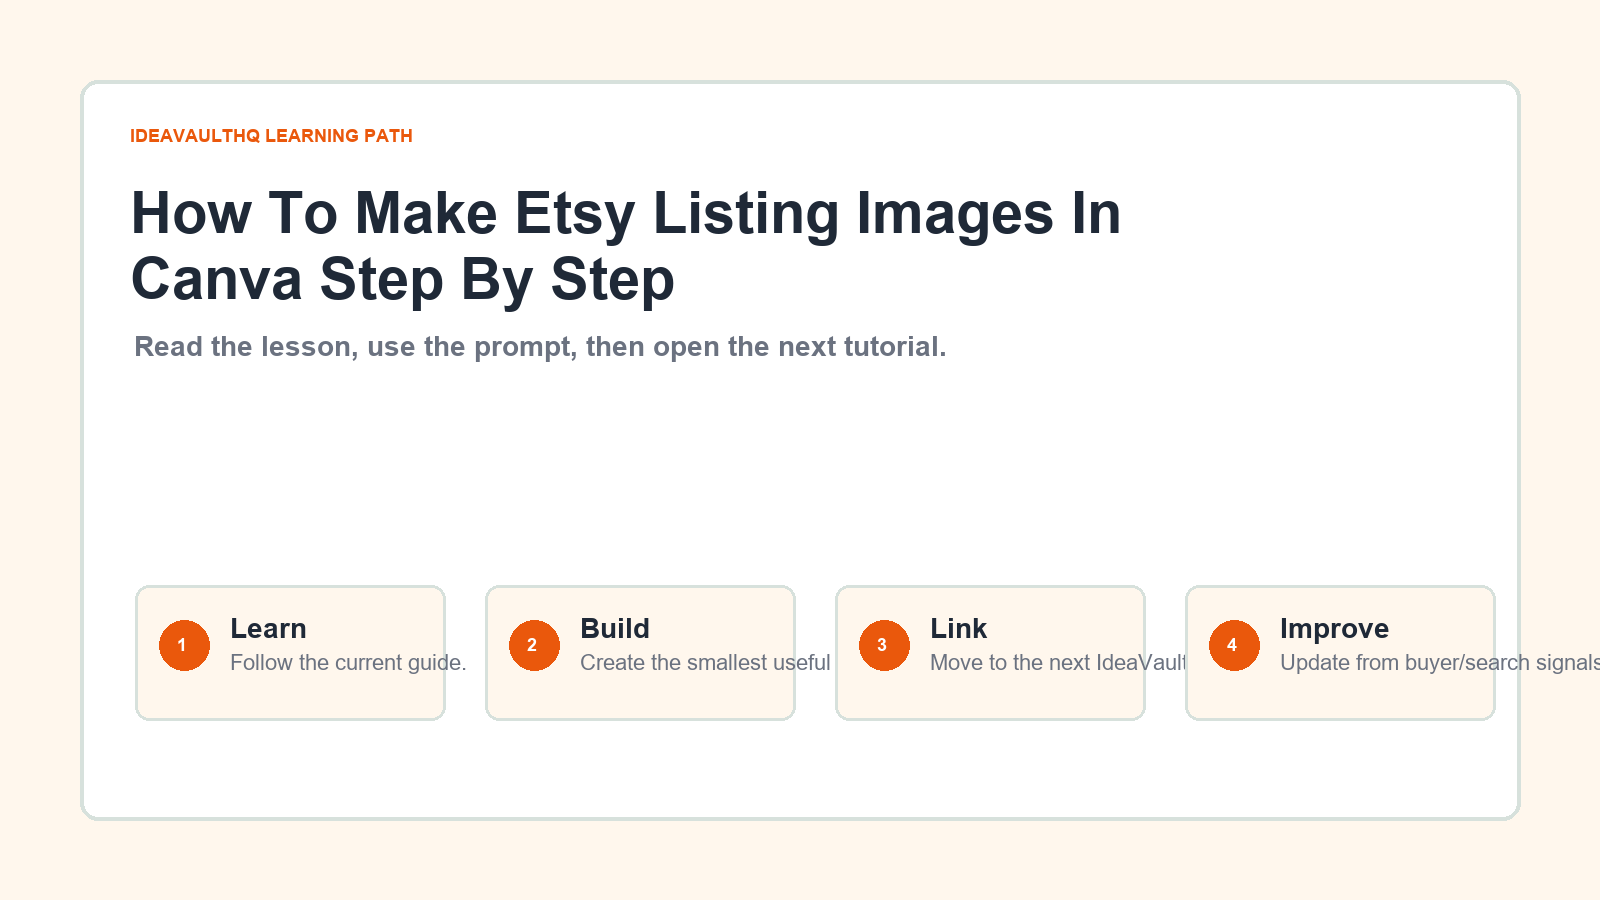
How To Make Etsy Listing Images In Canva Step By Step
This tutorial shows beginners how to create Etsy listing images in Canva for a digital product. You will build a simple image sequence that explains what the product is, what buyers receive, how the download works, and why the product is useful before someone even reads the full description.

Quick answer: To make Etsy listing images in Canva, create a square design, plan a five-image sequence, make the first image readable as a small thumbnail, show real product previews, explain what files are included, add a simple digital-download instruction image, export the images as PNG files, then upload them to Etsy in the order a buyer should understand the product.
Etsy Listing Image Workflow
Step 1: Understand What Etsy Listing Images Need To Do
Etsy listing images are not just decoration. They are the first sales page most buyers see. For digital products, the images have to do extra work because the buyer cannot hold the product, flip through the pages, or inspect a physical item. A good image sequence answers the buyer?s first questions quickly: what is this, what do I receive, can I use it, is it editable, is it printable, and how does the download work?
Etsy?s current image guidance focuses on trust and accurate representation. That matters for template sellers. If your listing image makes the product look bigger than it is, hides the actual pages, or uses a mockup that does not show what the buyer receives, the listing may get clicks but lose confidence. The better strategy is clear, honest, and useful: show the product, explain the files, and make the first image readable at thumbnail size.
For this tutorial, imagine your digital product is a Canva budget planner template. The same method also works for printable planners, Google Sheets templates, mini workbooks, checklists, and small business forms. The product changes, but the image sequence stays similar.
Step 2: Create A Listing Image Folder
Before opening Canva, create a folder named Etsy Listing Images. Inside it, create three smaller folders: Canva Exports, Final Uploads, and Product Previews. Put screenshots or exported previews of your actual product inside Product Previews. This keeps your design workflow clean. When beginners skip this step, they usually end up uploading random file names like design-final-final-2.png and losing track of what belongs where.
Open a notes file and write the five images you plan to make. Do not start designing yet. The sequence should be planned before colors, fonts, and mockups. A strong beginner sequence is: main cover image, what is included, page previews, how it works, and instant download note. If you have room for more, add a close-up detail image, size/file information image, FAQ image, or bundle comparison image.
The point is to make every image earn its spot. If two images say the same thing, combine them. If an image looks pretty but does not answer a buyer question, change it.
Step 3: Create A Square Canva Design
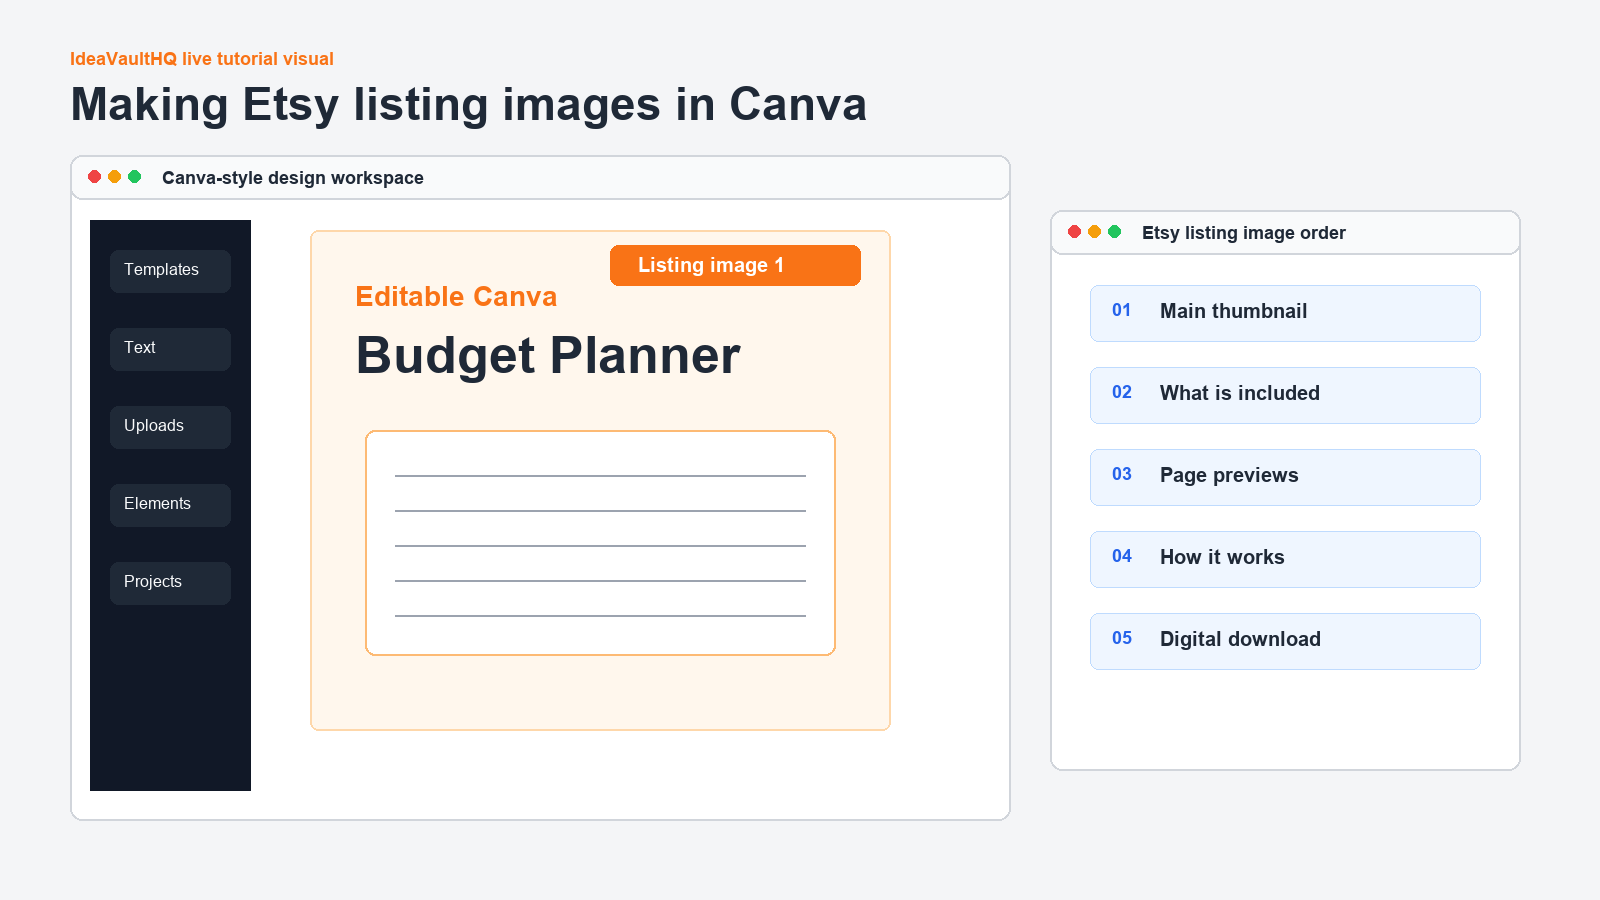
Go to Canva and create a custom square design. A common beginner-friendly size is 2000 by 2000 pixels because it gives you enough resolution for crisp text and product previews. Name the Canva file Etsy Listing Images – Product Name. Add one Canva page for each listing image. If you plan five images, create five pages right away and label them in Canva or in your notes.
Use a simple visual system: one heading font, one body font, one accent color, one background color, and one neutral text color. Listing images should look connected, but not identical. The buyer should feel like they are moving through one clear product explanation. Use the same margins and heading placement across the sequence, then vary the preview area so each image has a different purpose.
Avoid tiny text. If you cannot read the heading when zoomed out, the Etsy thumbnail will be weak. Your main image especially needs large words, a real product preview, and a clear format phrase such as editable Canva template, printable PDF, or Google Sheets tracker.

Step 4: Design The First Etsy Thumbnail
The first image is the most important because it becomes the main listing thumbnail. It should identify the product immediately. For a budget planner, a clear thumbnail might say Editable Canva Budget Planner Template. Under that, include a short benefit such as track bills, spending, savings, and debt. Show the cover or a few page previews. Keep the layout uncluttered.
Do not make the first image a collage of every page if that makes the product impossible to read. A buyer does not need to see every detail in the first image. They need to understand the product enough to click. Use one strong mockup or a simple stack of pages. If the product is editable in Canva, say that clearly. If it is a printable PDF, say that clearly. If it includes both, say both without stuffing the image with too many badges.
After designing the first image, zoom out in Canva until it looks small. Ask yourself: can I still read the main words? Can I tell what the product is? Does the product preview look real? If the answer is no, simplify.
Step 5: Make The What Is Included Image
The second image should answer what the buyer receives. Use a heading like What Is Included. Then list the files or pages in plain language. For example: Canva template link, printable PDF, monthly budget page, bill tracker, expense log, debt payoff tracker, savings tracker, and instructions PDF. If the product has 12 pages, you do not need to show all 12 as full-size previews. You can show a neat grid or a list next to a few thumbnails.
This image helps reduce confusion and support messages. Buyers of digital products often worry about whether they are getting a finished PDF, an editable Canva link, a spreadsheet, or a zip file. Your image should remove that doubt. The more specific you are, the less the buyer has to guess.
Step 6: Make The Page Preview Image
The page preview image should show the inside of the product. If you are selling a planner, show several actual pages. If you are selling a spreadsheet, show the dashboard or tabs. If you are selling a template pack, show a few finished examples. Do not only show the cover. A buyer wants proof that the inside is useful.
Use real product screenshots or exports. Place them on a clean background with enough spacing that each preview can breathe. Add small labels if needed, such as monthly budget, bill tracker, and savings goal. Do not label every tiny element. The image should make the product feel organized, not overwhelming.
This image is also where originality becomes visible. If your product has a specific angle, show it. A paycheck budget planner should show paycheck sections. A beginner Etsy checklist should show launch steps. A cleaning quote template should show quote fields. Generic previews are weaker than previews that prove the product solves a specific problem.

Step 7: Make The How It Works Image
Digital product buyers need to know what happens after purchase. Create an image titled How It Works. Use three or four steps: purchase on Etsy, download the PDF, open the Canva template link, edit and download your copy. If the product is not a Canva template, adjust the steps. For a Google Sheets template, the steps might be download instructions, open the copy link, make your own copy, start editing.
Keep this image simple. It is not a full instruction manual. It is a confidence image. It tells the buyer that they will not be lost after checkout. This is especially helpful for beginners buying their first digital download.
Step 8: Make The Instant Download And File Details Image
Create one image that explains the file details. Include phrases like digital download, no physical item shipped, includes PDF instructions, editable Canva template, and printable size if relevant. This protects the buyer experience and makes your listing more transparent. Etsy digital products are downloaded after purchase, so your images and description should make that clear.
Do not hide important limitations. If the buyer needs a free Canva account, say that. If the product is for personal use only, say that in the listing and instructions. If colors are editable, say so. If the product is not a physical planner, say so. Clear file details are part of good listing design.
Step 9: Export The Images From Canva
When the sequence is finished, download the Canva pages as PNG files. Save them into your Canva Exports folder. Rename the files in order: 01-main-cover.png, 02-whats-included.png, 03-page-preview.png, 04-how-it-works.png, and 05-digital-download.png. Clear file names make uploading easier and help you avoid putting images in the wrong order.
Open the files on your computer before uploading. Check for blurry text, cropped elements, accidental transparent backgrounds, and spelling mistakes. This extra minute matters. Listing images are public-facing assets, and a typo on the first image makes the product feel rushed.

Step 10: Upload Images To Etsy In Buyer Order
Open your Etsy listing editor and upload the images in the order a buyer should understand them. The first image should be the clearest thumbnail. The second should explain what is included. The third should show previews. The fourth should explain how it works. The fifth should explain download details. If you have additional images, place them after the core sequence.
After uploading, use Etsy?s thumbnail/crop tools if needed so the first image looks good in search results. Etsy notes that the first listing photo influences the shape of the listing photos that follow, so keep the sequence consistent. Preview the listing like a buyer. If the first image is too crowded or too hard to read, go back to Canva and fix it instead of hoping people will zoom in.
Step 11: Add Alt Text And Check Accuracy
If your Etsy listing editor gives you an alt text option, write concise descriptions that explain the image. For example: editable Canva budget planner template cover with monthly budget and bill tracker previews. Keep it factual. Do not stuff keywords. Alt text should describe the image for accessibility and clarity.
Also check every claim. If an image says 20 pages, the download should include 20 pages. If the image says editable Canva, the buyer should receive a working Canva access link. If the image says printable PDF, the PDF should be included or clearly explained. This is how you build trust.
Step 12: Improve Images After Seeing Buyer Behavior
After publishing, watch views, favorites, and clicks. If the listing gets views but few clicks from search, the thumbnail may not be strong enough. If people click but do not buy, the preview images may not explain the product well enough. Change one thing at a time. Start with the first image, then the included-files image, then the product preview image.
Do not redesign the entire sequence every day. Give changes time. The goal is to learn which image helps buyers understand the product faster. Better listing images are not just prettier. They are clearer.
Step 13: Make The Images Match The Product Promise
Before you upload the final images, compare them to the promise in your listing title. If your title says editable Canva budget planner, the images should show that it is editable, that it is a budget planner, and that Canva is part of the workflow. If your title says printable debt payoff tracker, the images should show the tracker page clearly and explain the printable file. A mismatch between title and images creates doubt, and doubt makes buyers leave.
Open each image and ask one plain question: what does this image prove? The main image proves what the product is. The included-files image proves what the buyer receives. The preview image proves the product has useful pages. The how-it-works image proves the buyer can access it. The file-details image proves this is a digital download. If an image does not prove anything, replace it with one that answers a real buyer question.
Step 14: Create A Simple Image Style Guide For Future Listings
After you finish the first listing image set, write down the design rules you used. Keep this short: canvas size, heading font, body font, main colors, button style, preview style, and file naming pattern. This becomes your mini style guide. The next time you create images for a planner, spreadsheet, checklist, or template bundle, you will not start from zero.
A style guide also helps your Etsy shop look more trustworthy over time. The images should not all be identical, but they should feel like they come from the same careful seller. You can change colors by product type while keeping the same basic structure: clear headline, real preview, short explanation, and readable spacing. That balance gives buyers confidence without making every listing look copied and pasted.
Beginner Image Checklist
- Create a square Canva file around 2000 by 2000 pixels.
- Make at least five images: cover, included files, previews, how it works, and digital download details.
- Keep the first thumbnail readable when small.
- Use real product previews, not only decorative mockups.
- Export as PNG and check every file before uploading.
- Upload images in buyer-understanding order.
- Link this listing back to your full product tutorial or website when appropriate.
Five-Image Sequence Example
| Image | Job | What To Put On It |
|---|---|---|
| 1. Main cover | Earn the click | Product name, format, strongest preview. |
| 2. What is included | Remove confusion | Files, pages, templates, instructions. |
| 3. Product previews | Prove usefulness | Actual pages, tabs, or template examples. |
| 4. How it works | Build confidence | Purchase, download, open, edit steps. |
| 5. File details | Set expectations | Digital download, Canva access, printable size. |
Copy-Paste ChatGPT Prompt
You are my Etsy listing image planner. I am creating listing images in Canva for this digital product: [describe product].

Create a 5-image Etsy listing sequence:
1. Main thumbnail image
2. What is included image
3. Product preview image
4. How it works image
5. Digital download/file details image

For each image, give me:
- The headline text
- The small supporting text
- What product preview to show
- What not to include
- A readability check for mobile thumbnails

Rules:
- Keep the images honest and clear.
- Do not make income promises.
- Do not copy another Etsy listing.
- Make the sequence beginner-friendly.
Current Sources Checked For This Tutorial
Continue Learning On IdeaVaultHQ
This guide is part of the IdeaVaultHQ Template School path. Use the links below to keep moving instead of stopping on one article.
Leave a Reply