IdeaVaultHQ Template School
How To Create A Canva Budget Planner Template To Sell On Etsy In 2026
This is a beginner tutorial for building a simple, original Canva budget planner template and preparing it as an Etsy digital product. It is written like a workshop: go here, click this, make this page, check this detail, then move to the next step.
Quick answer: To create a Canva budget planner template to sell on Etsy in 2026, research real Etsy listings first, design an original planner in Canva from a blank document, create a customer instruction PDF with the Canva template link, make clear listing images, then publish the product as a digital listing on Etsy. The goal is not to copy another planner. The goal is to notice what buyers already understand, then make your own cleaner beginner-friendly version.
Canva Budget Planner Workflow
Before You Start: What You Are Actually Making
You are not making a finished budget planner PDF only. You are making a reusable Canva template that a buyer can open, customize, and use for their own budgeting. That matters because the product has to be useful in two ways. First, it needs to look finished enough that someone sees it and understands the value. Second, it needs to be editable enough that the buyer can change the name, colors, categories, and pages without feeling lost.
For this first version, keep the product small. A beginner does not need to create a 70-page hyperlinked planner on day one. A strong starter product could be 10 to 14 pages: a cover, monthly budget, bill tracker, expense log, savings tracker, debt payoff tracker, paycheck planner, sinking funds tracker, no-spend challenge, financial goals page, notes page, and a simple instructions page. That is enough to teach yourself the workflow without drowning in design decisions.
The original angle for this tutorial is a “plain-English budget planner.” Many planner listings look polished but intimidating. Your version can be for someone who wants to stop guessing where their money went. That gives the design a human point of view: calm labels, clear sections, fewer decorative elements, and pages that make sense to someone opening a budget planner for the first time.
Step 1: Create A Simple Project Folder
Before opening Canva, create one folder on your computer or in Google Drive. Name it Budget Planner Etsy Product 2026. Inside it, create five subfolders: Research, Canva Exports, Listing Images, Customer Download, and Notes. This sounds small, but it keeps you from losing files once you start exporting PDFs, PNGs, screenshots, and listing drafts.
Open a blank document in Google Docs, Word, or Notepad and name it Budget Planner Research Notes. Add these headings: buyer words, page ideas, visual style, prices, listing image ideas, and mistakes to avoid. You will use this document during research. Do not copy full listing descriptions from other sellers. Write observations in your own words. For example, instead of copying a seller’s title, write “many listings use words like paycheck, monthly budget, debt payoff, savings challenge, editable Canva.”
This folder becomes the working system for every future tutorial on IdeaVaultHQ. If you later create a meal planner, teacher planner, cleaning checklist, or Etsy SEO worksheet, you can reuse the same folder structure.
Step 2: Research Etsy Demand Without Copying Anyone
Go to Etsy and type budget planner template into the search bar. Then try Canva budget planner, paycheck budget template, debt payoff tracker printable, and monthly budget planner digital download. Open five to eight listings in new tabs. You are not looking for designs to copy. You are looking for repeated buyer expectations.
In your notes, write down what shows up repeatedly. Look for the number of pages, file types, whether the listing says editable, whether it mentions Canva, whether it includes a PDF, and what the first listing image shows. You will probably notice that many successful listings make the product feel easy before they explain the details. The cover image often says what is included, who it is for, and whether the customer receives an instant download.
Now write a one-sentence promise for your own product. Example: “A simple editable Canva budget planner for beginners who want to plan monthly bills, track spending, and start paying down debt without using a complicated spreadsheet.” This sentence becomes your design filter. If a page does not support that promise, leave it out of version one.
Step 3: Choose The Planner Pages
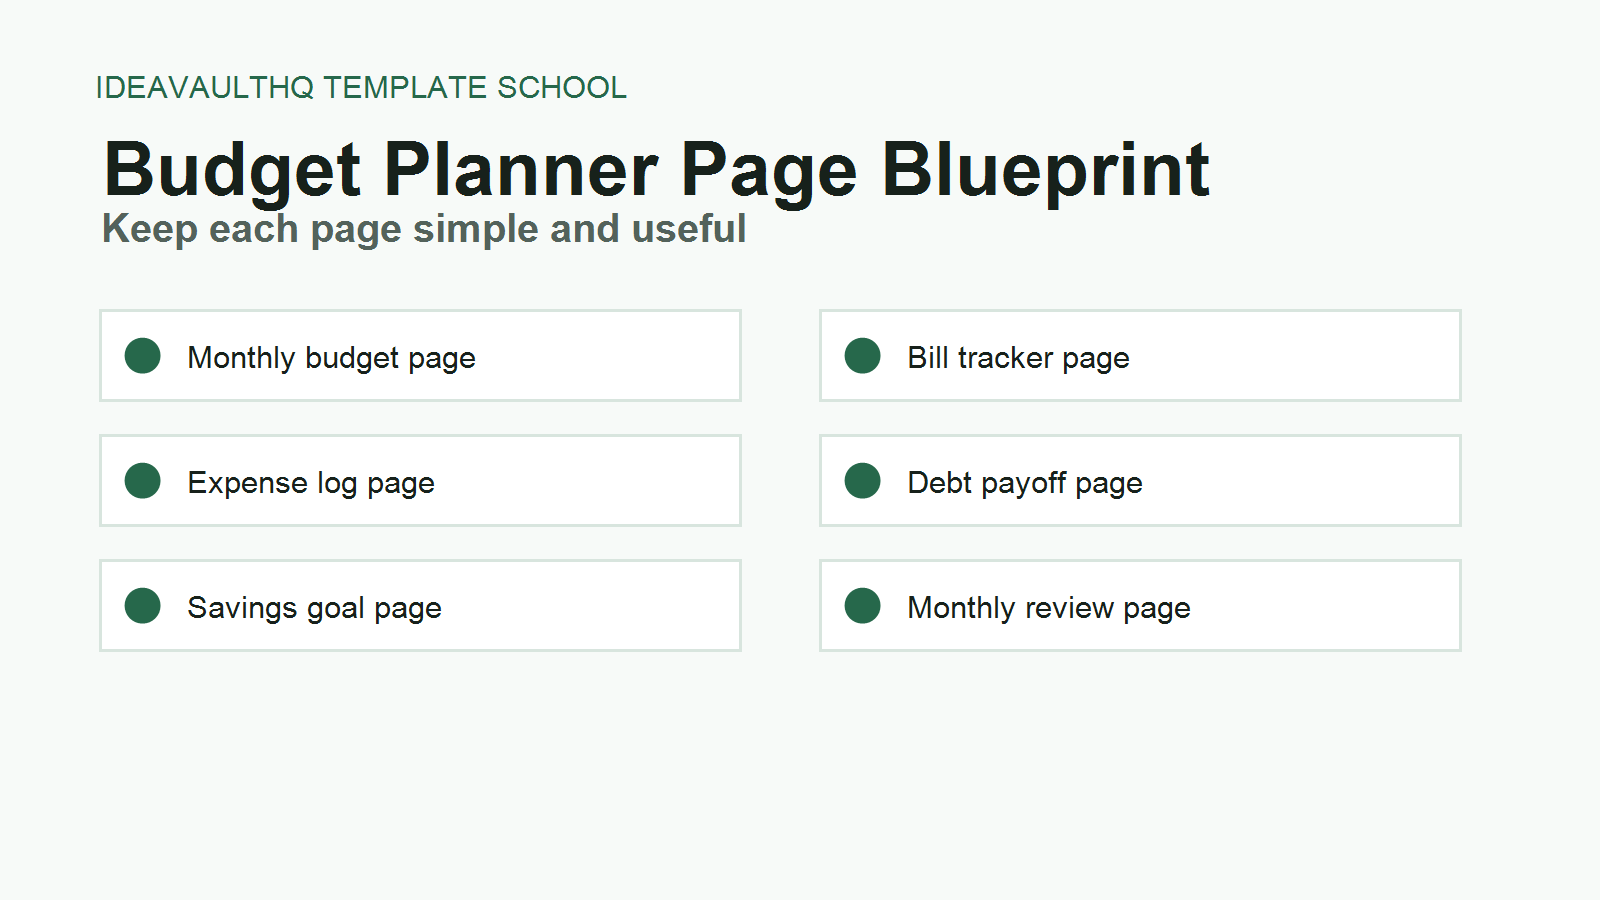
Open your research notes and create a page list. Start with 10 pages. For a beginner-friendly budget planner, use this order: cover, how to use this planner, monthly budget, bill tracker, expense log, paycheck budget, savings goal, debt payoff tracker, no-spend tracker, monthly review, notes page. If you want a slightly larger product, add a sinking funds tracker and annual overview.
Each page should have one job. The monthly budget page plans the month. The expense log records spending. The debt payoff page tracks progress. Do not combine five jobs on one page because the buyer will not know where to look. Simple pages feel more professional than crowded pages.
Write one line for each page explaining what it does. Example: “Paycheck budget: helps the buyer divide one paycheck into bills, savings, debt, spending, and leftover money.” These page notes help you design faster in Canva because you are not staring at a blank canvas wondering what to include.
Step 4: Open Canva And Start From A Blank Document
Go to Canva and create a new design. Use US Letter Document if your audience is mostly in the United States. Use A4 Document if you want a more international printable. For this tutorial, choose US Letter because many Etsy printable buyers expect it. Name the design Editable Beginner Budget Planner 2026.
Start with the cover page. Add a clean title, such as “Simple Monthly Budget Planner.” Add a subtitle, such as “Track bills, spending, savings, and debt in one place.” Use two fonts at most. One font can be bold for headings; one font can be regular for labels. Pick a calm color palette with one dark color, one accent color, one light background color, and white. Write the color values in your notes so every page stays consistent.
Do not use a Canva template as the base and lightly edit it. The safer long-term habit is to build your own layout from basic shapes, lines, text boxes, and simple elements. You can learn from the marketplace, but your product should be designed by you. Etsy’s digital listing guidance expects digital items to be made or designed by the seller, so originality is part of the product, not a decoration.
Step 5: Design One Strong Page Before Duplicating
Create the monthly budget page next. Add a heading at the top. Under it, create sections for income, fixed bills, variable spending, savings, debt payments, and notes. Use rectangles or tables with enough white space for writing. If the page looks crowded at 100% zoom, it will feel worse when printed. Remove one section before shrinking everything.
Once the monthly budget page looks clean, duplicate it to create the bill tracker. Replace the section labels with bill name, due date, amount, paid, and notes. Duplicate again for the expense log. Replace the labels with date, store, category, amount, and notes. This is how you create a consistent planner without designing every page from scratch.
After five pages, pause and zoom out to see the full document. The pages should feel like a set. If one page suddenly uses different spacing or a different style, fix it now. Consistency is what makes a beginner template feel professional.
Step 6: Add Editing Instructions Inside The Planner
One page should explain how to use the planner. Write this like you are helping a real person who has never bought a digital template before. Include short instructions: open the Canva link, click the button to use the template, edit text and colors if desired, download as PDF Print for printing, or download as PDF Standard for digital use. Keep the language calm and direct.
Also add a small note that the buyer should make a copy before making major edits. People can accidentally delete a page or change the wrong element. A friendly instruction page reduces customer confusion and support messages.
Step 7: Create Etsy Listing Images In Canva
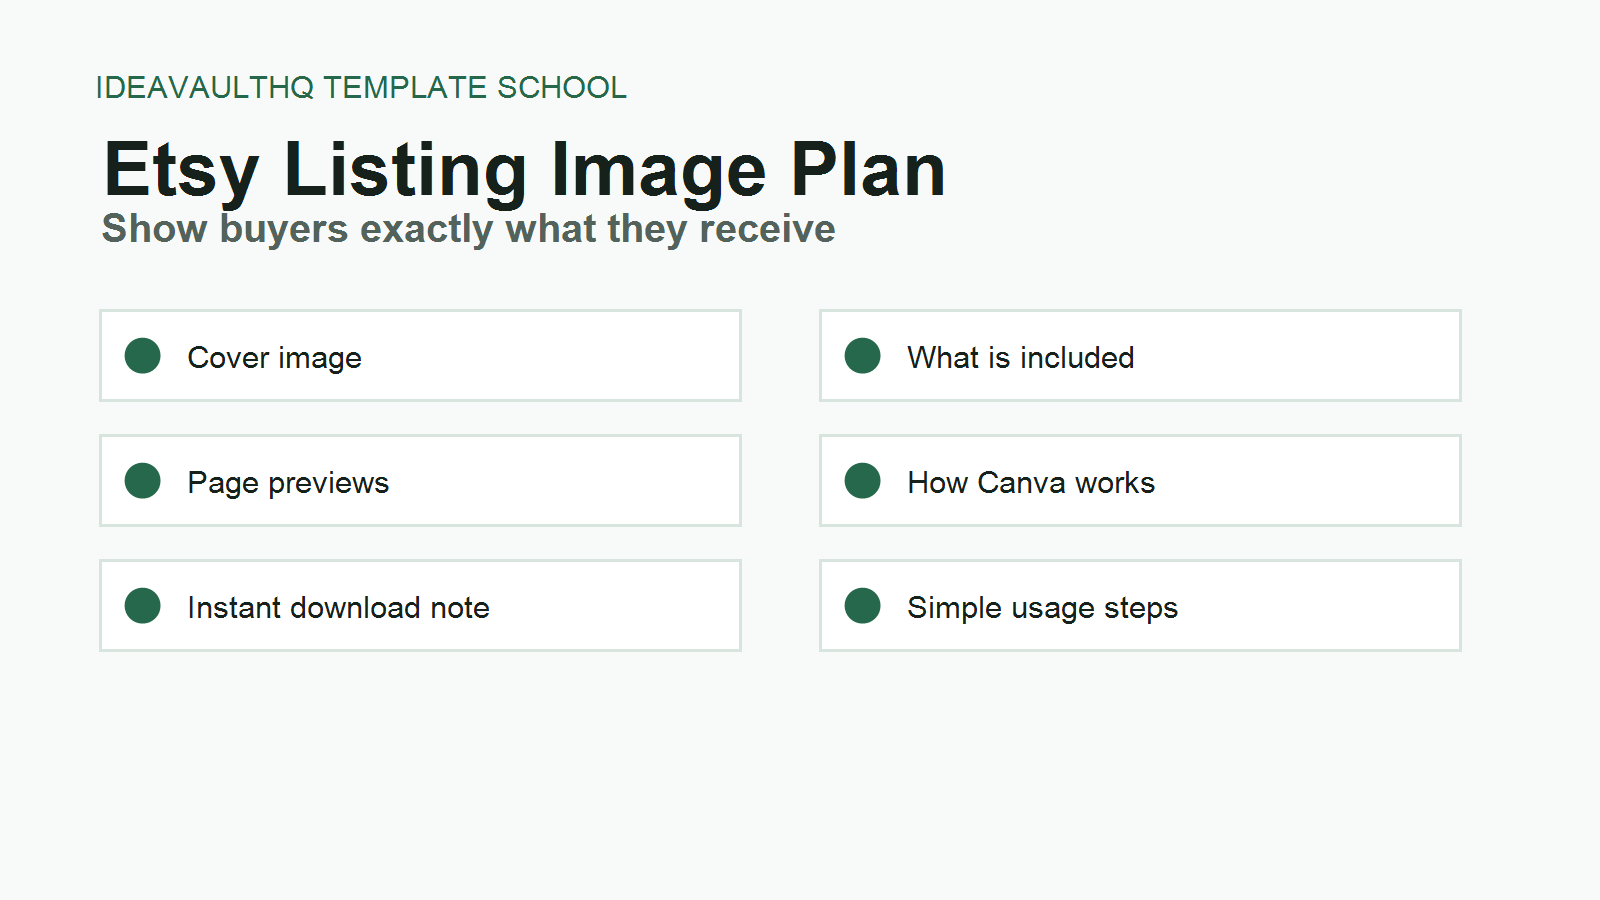
Create a second Canva design for listing images. Use a square format, such as 2000 by 2000 pixels. Make at least five images. Image one should show the planner cover and clearly say what the product is. Image two should show what is included. Image three should show page previews. Image four should explain that it is an instant digital download. Image five should explain how the Canva template works.
Your first image is not just decoration. It is the billboard. A buyer should understand the product without reading the title. Use readable text, real page previews, and a clear phrase like “Editable Canva Budget Planner Template.” Avoid tiny screenshots, fake income claims, or cluttered mockups where the actual planner is hard to see.
Export the listing images as PNG files and save them in your Listing Images folder. Name them clearly: 01-cover.png, 02-whats-included.png, 03-page-preview.png, 04-instant-download.png, and 05-how-it-works.png.
Step 8: Create The Customer Download PDF
Most Canva template sellers do not upload the editable Canva design file directly to Etsy. They create a PDF instruction document that contains the Canva template link. In Canva, open your planner design and use the sharing option that creates a template-style link if it is available in your account. If Canva changes the exact label, look for the sharing option that lets another person open their own copy instead of editing your original design.
Create a one-page or two-page PDF called Your Budget Planner Access Guide. Include a thank-you line, the Canva template link, basic instructions, what files are included, and a short troubleshooting note. Make the link obvious. Add a button-style text block that says “Click Here To Open Your Canva Template.” Export this instruction file as a PDF and save it in your Customer Download folder.
If your design uses Canva Pro content, check Canva’s licensing guidance carefully. Canva explains that templates using Pro Content may need to stay within Canva as a shareable link rather than being sold as separate off-platform downloadable files. When in doubt, use free elements, your own shapes, your own text, and simple original layouts.
Step 9: Draft The Etsy Title, Tags, And Description
Open your notes and write a title that sounds like a buyer search, not a clever brand name. A beginner title could be: Editable Canva Budget Planner Template, Monthly Budget Printable, Paycheck Budget Tracker, Debt Payoff Planner, Digital Download. This title is plain, but it tells Etsy and the buyer what the product is.
Create 13 tag ideas. Use a mix of product type, use case, format, and audience: budget planner, Canva template, budget printable, paycheck budget, debt tracker, savings tracker, finance planner, money planner, digital planner, monthly budget, printable PDF, editable planner, debt payoff. Do not stuff unrelated tags. If the product is not a wedding planner, do not use wedding tags just because they get traffic.
Write the description in sections. Start with who it is for. Then list what is included. Then explain how the download works. Then add file details. Then add a short reminder that this is a digital product and no physical item ships. Buyers should not have to guess what they receive.
Step 10: Publish The Etsy Digital Listing
In Etsy, create a new listing and choose the digital product/file option when setting up the product type. Upload your customer download PDF. Add your listing images in order. Paste your title, description, tags, and price. For a starter budget planner, many beginners test a price in the low digital-product range, then adjust after seeing views, favorites, and sales behavior. Do not price only by copying the cheapest listing. Price based on clarity, usefulness, and how complete your product is.
Before publishing, preview everything. Click through your images. Read the description out loud. Make sure the product says “digital download” clearly. Make sure the Canva link in your instruction PDF works. Make sure you are not promising results. A budget planner can help someone organize money; it cannot guarantee savings or income.
Step 11: Improve The Tutorial Product After One Week
After publishing, give the listing a week before making emotional changes. Watch views, favorites, and clicks. If people view but do not favorite, the product may not feel special enough. If people favorite but do not buy, the price, images, or description may need work. If people do not view at all, the title, tags, or first image may not match what buyers search.
Create one improvement at a time. Change the first image and wait. Improve the title and wait. Add a clearer “what is included” image and wait. If you change everything at once, you will not know what helped. The point is to become a better template creator, not just to publish one listing and hope.
Beginner Checklist
- Create one project folder before designing.
- Research at least five Etsy listings for repeated buyer language.
- Write your own product promise in one sentence.
- Design from a blank Canva document using your own layout.
- Make 10 to 14 useful planner pages for version one.
- Create five Etsy listing images.
- Create a customer instruction PDF with the Canva template link.
- Publish as a digital listing and test the link before launch.
Starter Etsy SEO Map
| Listing Part | Beginner Example | Why It Helps |
|---|---|---|
| Main keyword | Canva budget planner template | Names the format and product clearly. |
| Buyer problem | monthly budget, paycheck budget, debt payoff | Connects the template to real money tasks. |
| File expectation | digital download, editable Canva, printable PDF | Reduces buyer confusion before purchase. |
| Audience | beginners, simple budget planner | Makes the product feel less intimidating. |
Copy-Paste ChatGPT Prompt
Use this to plan your own original budget planner pages. Do not ask it to copy a listing. Ask it to help you think through the buyer problem.
You are my digital product planning assistant. I want to create an original Canva budget planner template for Etsy in 2026.

Audience: beginners who want a simple way to track monthly bills, spending, savings, and debt.

Create:
1. A 12-page planner outline.
2. The purpose of each page.
3. Suggested section labels for each page.
4. Five Etsy listing image ideas.
5. A beginner-friendly product description outline.
6. 13 Etsy tag ideas.

Rules:
- Do not copy existing Etsy listings.
- Keep the planner simple and useful.
- Make the design direction original.
- Avoid income promises.
- Write in plain English.
Common Beginner Mistakes
- Making too many pages first: Start with a useful small planner, then expand after feedback.
- Copying a style too closely: Research buyer expectations, but design your own layout and wording.
- Hiding the product in mockups: Show actual planner pages in the first few listing images.
- Forgetting instructions: Buyers need to know exactly how to open and edit the Canva template.
- Using vague tags: Tags like “cute” are weaker than “paycheck budget” or “debt payoff tracker.”
Current Sources Checked For This 2026 Tutorial
Next Tutorials To Read
Continue Learning On IdeaVaultHQ
This guide is part of the IdeaVaultHQ Template School path. Use the links below to keep moving instead of stopping on one article.
Leave a Reply