What You Are Building
You are building a small pack of Canva mockups that helps an Etsy buyer understand a digital product before they buy it. That can be a planner, a worksheet, a template, a checklist, a menu, a tracker, a workbook, or a social media pack. The point is not to create random pretty images. The point is to show the file in a way that answers the buyer’s first question fast: “What exactly am I getting?”
The current demand signal behind this topic is easy to spot. Sellers keep asking if mockups are worth the effort, new template shops keep trying to stand out with cleaner previews, and the Etsy search ecosystem keeps rewarding listings that feel clear and trustworthy. Canva’s current mockup tools also make this easier than it used to be, which matters because beginners usually need a workflow that works inside one browser tab, not a complicated design stack.
This tutorial assumes you are starting small. You are not building a massive design library on day one. You are building one useful pack for one product type, then learning how to repeat the process. That is what makes the work beginner-friendly and actually sellable.
Who This Is For
This is for a beginner who wants to sell digital products on Etsy but does not have a photography setup, a Photoshop workflow, or a giant portfolio. It also fits sellers who already have a product and know the listing looks weak because the preview images do not explain the file well enough. If your buyers keep asking the same thing, the mockup pack should answer that question before they need to message you.
If you are coming from a Canva template shop, a planner shop, a worksheet shop, or a small product research project, this is a practical next step. It gives you a visual asset you can reuse across listings, blog posts, Pinterest pins, or shop updates. If you are trying to get your first sale, it is a good place to start because it is easier to improve a presentation than to invent a brand-new product category.
It is not a good fit if you want the mockup itself to be the only product story. A pack of fake screens with no real product behind it will not hold up. Buyers want the file, the use case, and the confidence that the preview matches reality.
Why People Pay For It
People pay when a product looks clear, useful, and low risk. A good mockup pack helps them imagine the file in their own workflow. If you are selling a budget planner, the buyer wants to see the monthly spread, the expense page, and the tracker layout. If you are selling a social media template, the buyer wants to see the cover slide, the editable page, and the result after editing. If you are selling a worksheet, the buyer wants to know whether it is a one-page helper or a multi-tab workbook.
That is why mockups are not just decoration. They are part of conversion. Etsy’s listing guidance keeps pointing sellers back to clear photos, strong listing anatomy, and buyer-friendly details. Canva’s mockup tools also make visual explanation easier, which means a beginner can build something useful without expensive software.
Think of the mockup pack as a trust asset. It lowers hesitation. It makes the product feel more real. And in a crowded marketplace, real is often enough to beat clever.
How To Pick One Pack Theme
Do not start with “make mockups for everything.” Start with one product family. The best beginner choice is usually the one you already understand. If you know planners, build a planner mockup pack. If you know templates, build a template preview pack. If you know spreadsheets, build a worksheet pack. If you know meal planners, budget sheets, content calendars, or client intake forms, use that category first.
Choose a product family that gives you at least four useful scenes. For a planner, that might be a cover, a monthly page, a weekly page, and a close-up of one useful tab. For a worksheet, it might be a title slide, a form field view, a filled-in example, and a results slide. For an Etsy digital product, the mockup pack should always show the product structure, not just the outer skin.
The easiest way to choose is to ask which buyer question is hardest to answer with one flat image. Build the pack around that question. When the pack solves that problem, you can reuse the same framework for the next listing.
How To Map The Shots Before You Open Canva
Before you drag in one element, write a short shot list. The shot list should say what the buyer sees in each image and what each image is supposed to prove. This is where beginners save the most time. A pack feels scattered when you invent scenes on the fly. It feels intentional when you decide the scenes first.
A simple shot list might be: cover slide, inside page, edit screen, mobile preview, and final result. If you are selling a template, the cover slide should name the template, the inside page should show editability, the edit screen should show how the file changes, and the result slide should show the finished layout. If you are selling a spreadsheet, the pack should show the tabs, the formulas, the input areas, and the outcome.
Use boring file names while you work. Name the files by shot number and purpose. That way you can find them later if the shop needs a refresh or if a customer asks for a custom bundle. The whole point of the pack is repeatability, and repeatability starts with naming things clearly.
How To Build The Pack In Canva
Open Canva and start with a canvas size that matches where the images will be used. If you are making Etsy listing images, use the same dimensions for the whole pack so the uploads stay consistent. Then drop in the product file, any browser or device frame you want to use, and a small text treatment that explains the slide. Keep the typography readable. If the label cannot be read on a phone, it is too small.
Work in layers. Put the screen or device frame first. Place the product preview on top. Then add a short caption. Then stop and check whether the image still makes sense without your explanation. Good mockups do not rely on long paragraphs. They use a visible preview plus a very short claim. A buyer should be able to understand the slide in a second or two.
A clean mockup can use the same scene with slight variations. For example, one slide can show the desk view, another the close crop, another the tablet view, and another the mobile view. That gives the pack movement without making it look messy. A pack also looks better when the colors feel related. Choose one palette per pack and keep it steady.
How To Make The Images Feel Real
Real-feeling mockups are concrete. They show believable work surfaces, file windows, browser tabs, folders, page edges, and product names that look like something a real seller would use. A viewer should feel like they are looking at a working draft, not a glossy stock card. That is especially important on Etsy because buyers are trained to ignore images that feel too generic or too polished to trust.
Use tiny imperfections on purpose. A slightly angled window, a clipped notebook edge, a visible sidebar, or a folder name helps the image feel like a real workspace. You do not need chaos. You need enough context to make the screen believable. That is the difference between a useful screenshot-style tutorial graphic and an abstract AI render that nobody remembers.
Make at least one image show the product in use. Do not only show the cover. Show a page, a tab, a field, or a live example. If the pack is for a template, show the template being edited. If the pack is for a planner, show a filled section. If the pack is for a worksheet, show one field with a real-looking answer. That is what makes the pack useful in a real listing.
How To Write The Listing Copy Around The Pack
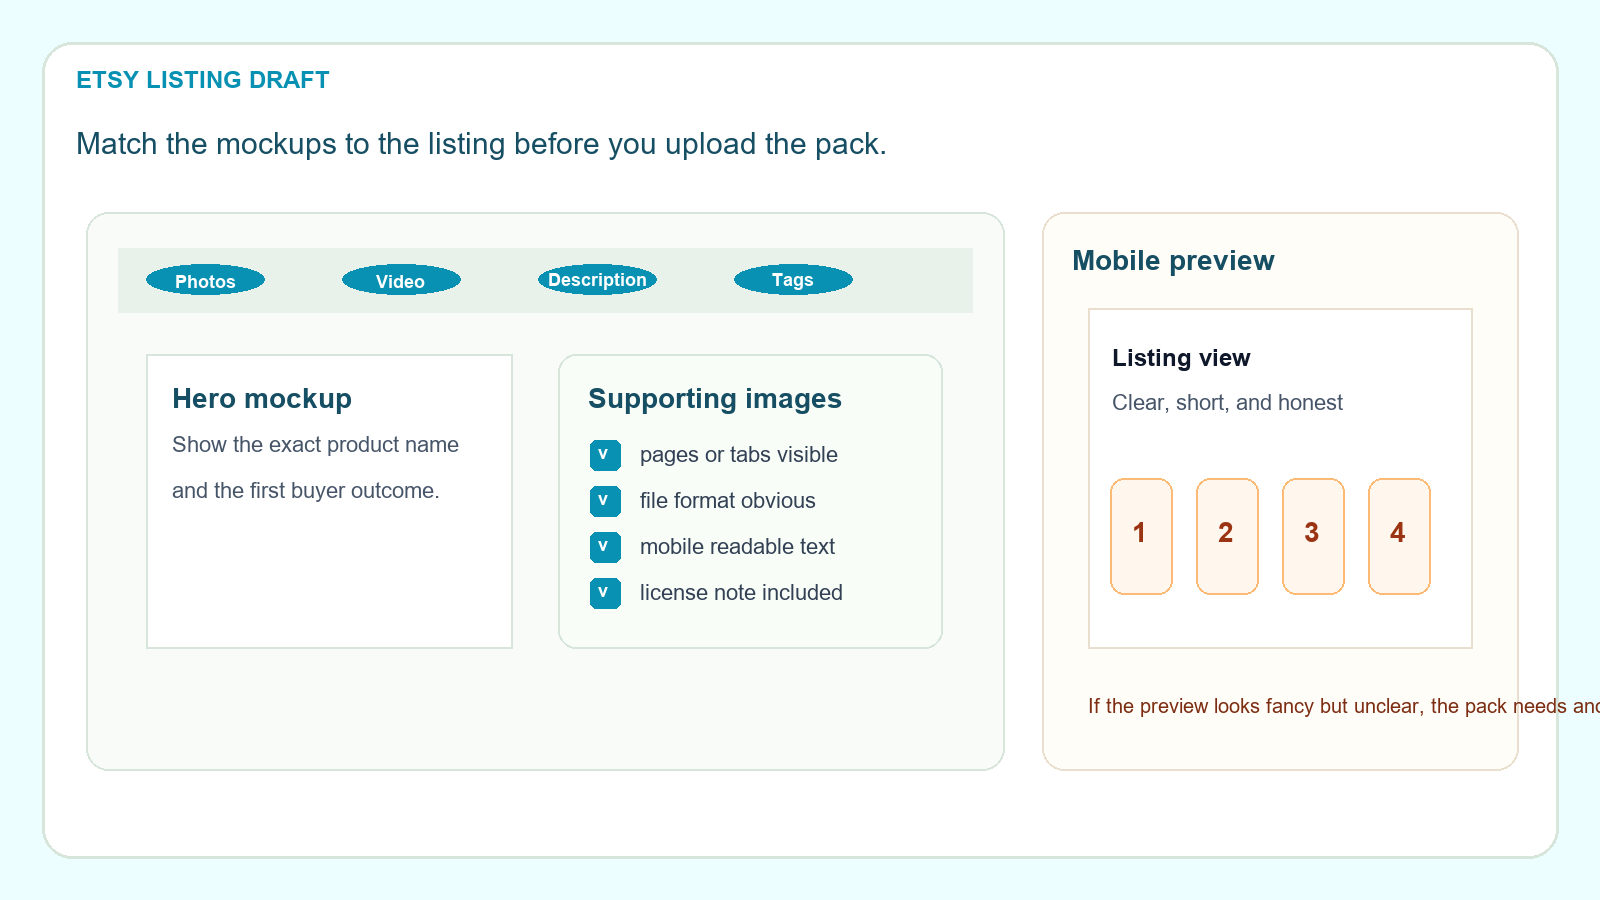
Your listing title, description, and tags should explain what the mockup pack actually supports. Do not just say “mockup pack” and hope people infer the rest. Say whether the pack is for Etsy digital products, Canva templates, worksheets, planners, or spreadsheet tools. Put the buyer use case in the first line of the description so the shopper does not have to hunt for it.
Etsy’s search guidance keeps reminding sellers that keywords matter across titles, tags, categories, and descriptions. That means the mockup pack should be named like a product a buyer would search for. If the pack is built for planners, say planner mockup pack. If it is built for digital downloads, say Etsy digital product mockups. If it is built for Canva templates, say Canva template mockups. Specific beats vague here.
Also tell the buyer what they get: number of images, file format, whether the file is editable, and whether it is a finished download or a reusable template. When the copy and the images tell the same story, the listing feels safer. Safe listings convert better than clever listings.
How To Package It So Buyers Understand It Instantly
Package the mockup pack like a tiny product system. Include a cover image, a use-case image, an interior detail image, and a final result image. If the pack is editable, include a note on where the buyer changes the text or the file. If it is a finished image set, include a clear note that the buyer receives PNG or PDF files. If it is a Canva template, say that they will get a template link and need a free or paid Canva account depending on your setup.
Do not make buyers guess what is inside. If you have to use the words “mockup” and “example” and “preview” three times to explain the pack, the structure is probably too muddy. Rebuild it so the useful detail is visible in the image itself. The best packs feel almost self-explanatory.
This is also where your pack becomes reusable. Once you have one good structure, you can swap the product type and keep the same visual logic. That is how a single workflow can support several listings without turning into repetitive spam.
How To Turn One Pack Into A Repeatable System
Do not treat the mockup pack as a one-off design task. Treat it like the first version of a system. Save the scenes, the fonts, the spacing, the file names, and the export settings. The next time you need a pack, duplicate the project and replace only the product images and labels. That is the fastest path for beginners because it removes design decisions you already solved once.
After the first pack, ask what repeated work can be turned into a template. The answer is usually the same: cover slide, interior slide, edit slide, result slide, and a few short support shots. When the structure becomes a template, the pack becomes easier to sell and easier to explain. It also becomes easier to hand off or batch later if you want to add products quickly.
That is the real long-term value. You are not just making one mockup pack. You are building a workflow that can support a whole shop. One clear process is worth more than ten clever ideas that never ship.
What To Do After You Publish
Once the mockup pack is live, watch the first responses closely. If people click but do not buy, the problem is usually the clarity of the preview or the price. If people buy but ask repeated questions, your listing copy needs to explain the pack more directly. If a certain scene gets attention, use that scene again in your next listing because it is telling you something about buyer behavior.
That feedback loop is the whole point of making the pack in the first place. You are learning which visual proof makes buyers comfortable. You are also building a reusable asset for future tutorials, future listings, and future bundles. A good mockup pack gives you more than one image set. It gives you a repeatable visual language for the shop.
If you want the shortest possible next step, build one pack for one product and upload it to one listing. Then compare how the listing performs before and after. That is the fastest way to see whether the work is worth doing for your own shop.
How To Get Started Today
- Pick one product family that already sells or that you can explain fast.
- Write the five-shot plan before opening Canva.
- Build the first slide, then the supporting slides, then the result slide.
- Read every image on a phone-sized screen and fix any small text.
- Upload the pack to one listing and compare the response to the old version.
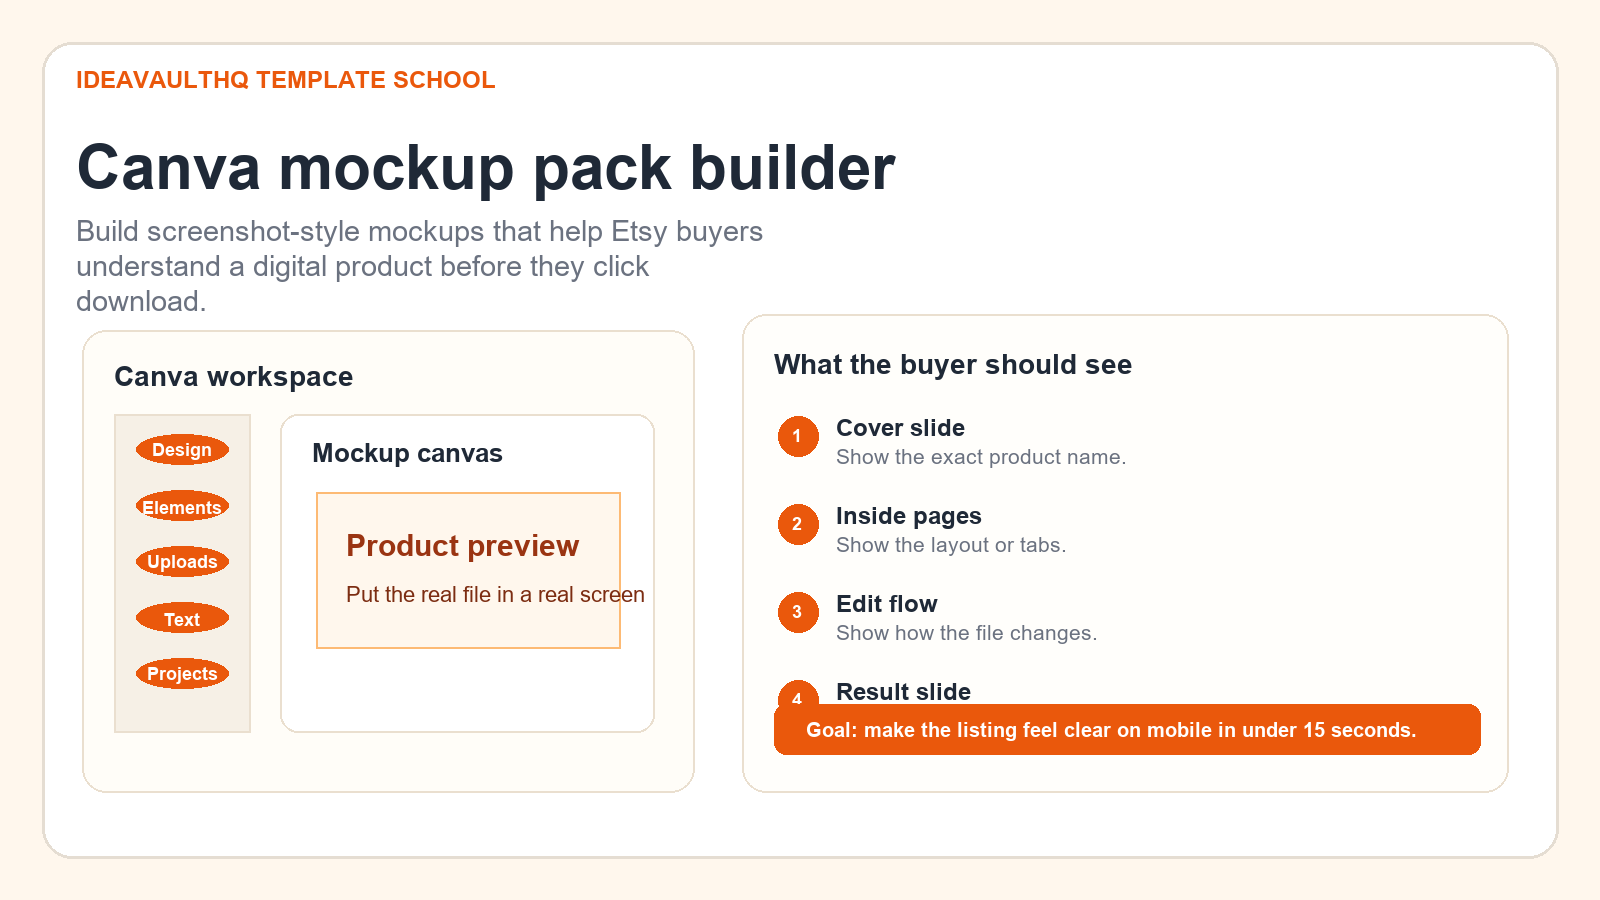
Workflow
Choose one product family and one buyer question.
Write the shot list before you open Canva.
Create clean screenshots and preview scenes.
Read every slide on a phone-sized screen.
Upload, verify, then reuse the structure.
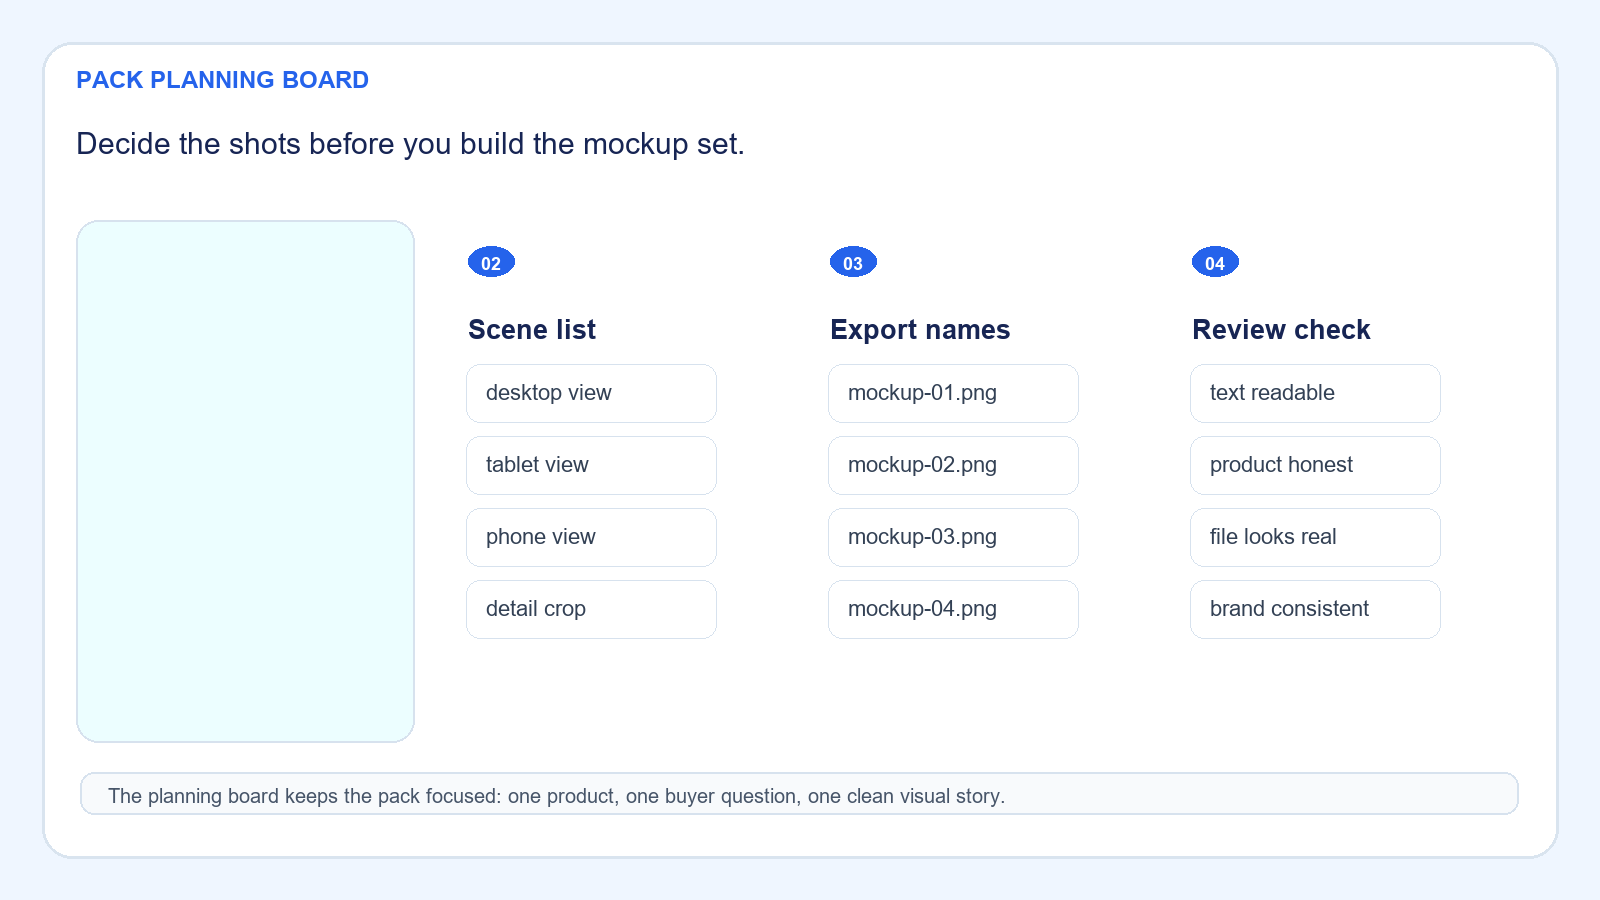
Beginner Checklist
- Pick one Etsy product family and one buyer question.
- Write a five-shot plan before touching Canva.
- Make the first slide obvious at mobile size.
- Show at least one interior view and one result view.
- Export and inspect the files before uploading.
- Write listing copy that matches the actual pack.
- Save the project so you can duplicate the workflow later.
Copy-Paste ChatGPT Prompt
Use this prompt to plan or improve the pack before you build it:
You are my Etsy mockup assistant. Help me create a Canva mockup pack for this product: How To Create a Canva Mockup Pack for Etsy Digital Products

Create:
1. A five-shot mockup plan
2. A simple product story for the first image
3. Three supporting images that prove the file is useful
4. A short Etsy listing title and first paragraph
5. A beginner-friendly checklist for exporting the pack
6. One reusable template structure I can use again

Keep the advice specific, practical, and suitable for a beginner using Canva.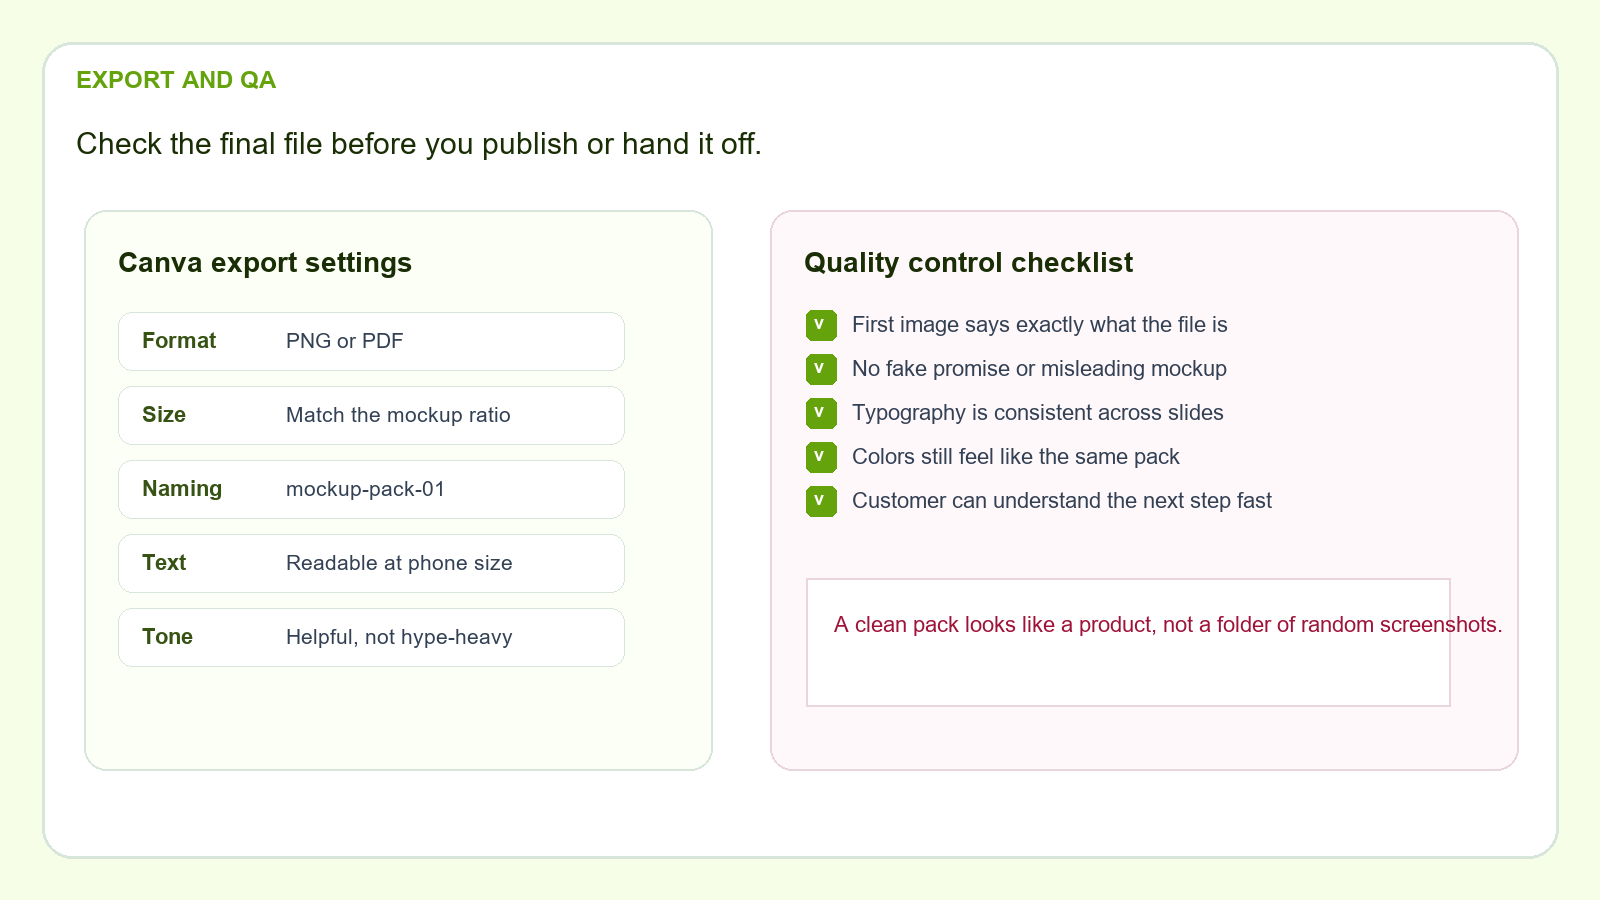
Source Links
- Canva Help: Create mockups using images or designs
- Canva Help: Use Canva to design digital and physical products for sale
- Etsy Seller Handbook: The Anatomy of a Well-Crafted Etsy Listing
- Etsy Seller Handbook: Why Product Photography Is Important
- Etsy Seller Handbook: How to Sell Digital Downloads on Etsy
- Public demand signal: Does mockups worth the effort?
- Public demand signal: How are new Canva Template Shops getting so many sales?
Continue Learning On IdeaVaultHQ
This guide is part of the IdeaVaultHQ Template School path. Use the links below to keep moving instead of stopping on one article.
Leave a Reply