Quick answer: If you want an Etsy listing video that helps buyers understand a digital product quickly, do not start by making something flashy. Start by deciding what the shopper needs to know in the first 5 to 15 seconds, then build that story in Canva as a short sequence of screenshots, file previews, and one clear product promise. Etsy’s own guidance says listing videos are short, and the platform clips videos longer than 15 seconds, so the job is to explain the product fast and honestly, not to make a mini commercial.
This tutorial is based on current public demand signals and official guidance. Recent seller discussion keeps circling back to the same practical point: videos help shoppers notice what the product actually is, especially when the item is a digital download or a template that might otherwise be hard to understand from a still image alone. Etsy’s Seller Handbook also recommends videos that answer common questions, show the product in use, or highlight creative details. That combination makes this a useful tutorial now, because buyers want clarity and sellers need a repeatable way to create it.
The version in this guide is designed for template creators, planner sellers, Etsy digital-product shops, and Canva sellers who want to turn a few screenshots into a real listing video without learning full video production. You do not need a camera crew. You do need a small storyboard, a clean Canva file, and a habit of showing the actual product rather than a vague aesthetic card. If you can explain one file clearly, you can make a video that looks trustworthy instead of overdesigned.
Why Etsy Listing Videos Matter Right Now
Digital products face a specific problem. Buyers cannot touch them, open them, or flip through them before they buy. That means the listing image set has to do extra work, and the listing video can do even more. A good video reduces uncertainty by showing motion, scale, the edit flow, or the file structure. It tells the buyer, “This is what you get, this is how it works, and this is why it is worth opening.”
That does not mean every Etsy shop needs flashy transitions or moving text everywhere. In fact, too much motion can hide the point. The best videos for digital products are usually simple: a cover frame, a few file previews, one shot that shows how the template is edited, and a final frame that says who the product is for. On mobile, that kind of clean explanation is easier to understand than a busy montage.
Think of the video as the middle layer between your listing images and your description. The images get the click. The video helps the buyer stay interested long enough to understand the product. The description answers the final details. When all three line up, the listing feels complete, and that makes the product feel less risky to buy.
What Your Video Should Show
The easiest way to fail at listing videos is to show the wrong thing. A pretty animation that does not explain the file creates confusion. For digital products, the video should show one of four things: the product itself, the structure of the file, the editing process, or the result the buyer gets after using it. Those are the only four goals you really need at the beginner stage.
If you sell a Canva template, show the editable design, a few sample pages, and one quick look at the link or file handoff. If you sell a planner, show the page types and a close-up of the sections. If you sell an Etsy SEO sheet, show the tabs, the filter columns, and a sample filled-in row. If you sell a prompt pack, show the card layout and a sample output. Specific visuals beat decorative filler every time.
Use the rule of one video, one job. If the listing video tries to explain the file, the audience, the pricing, and your brand story all at once, the message gets weak. Your video should mainly answer one buyer question. Everything else can live in the title, photos, and description. That restraint is what makes the video feel clean, not empty.
Decide The Story Before You Open Canva
Before you touch the editor, write one sentence that describes the buyer question. For example: “What exactly is inside this editable Canva budget planner?” or “How do I use this Etsy listing template after I buy it?” That sentence becomes the spine of the whole video. Without it, you will keep adding scenes that look useful but do not move the buyer toward trust.
Then write the promise in plain language. A good first frame sounds direct: “Editable Canva Listing Video Template” or “Google Sheets Etsy Research Tracker.” A weak first frame sounds stylish but vague. Buyers do not need poetry here. They need a quick answer. If the first frame is confusing, the rest of the video has to work twice as hard.
Finally, decide the finish line. What should the buyer understand by the end of the clip? For most beginner-friendly digital products, the finish line is something like: “I know what the file is, I know what is inside, and I know whether it fits my shop.” Once that outcome is clear, the storyboard becomes easy because every scene is just a step toward that understanding.
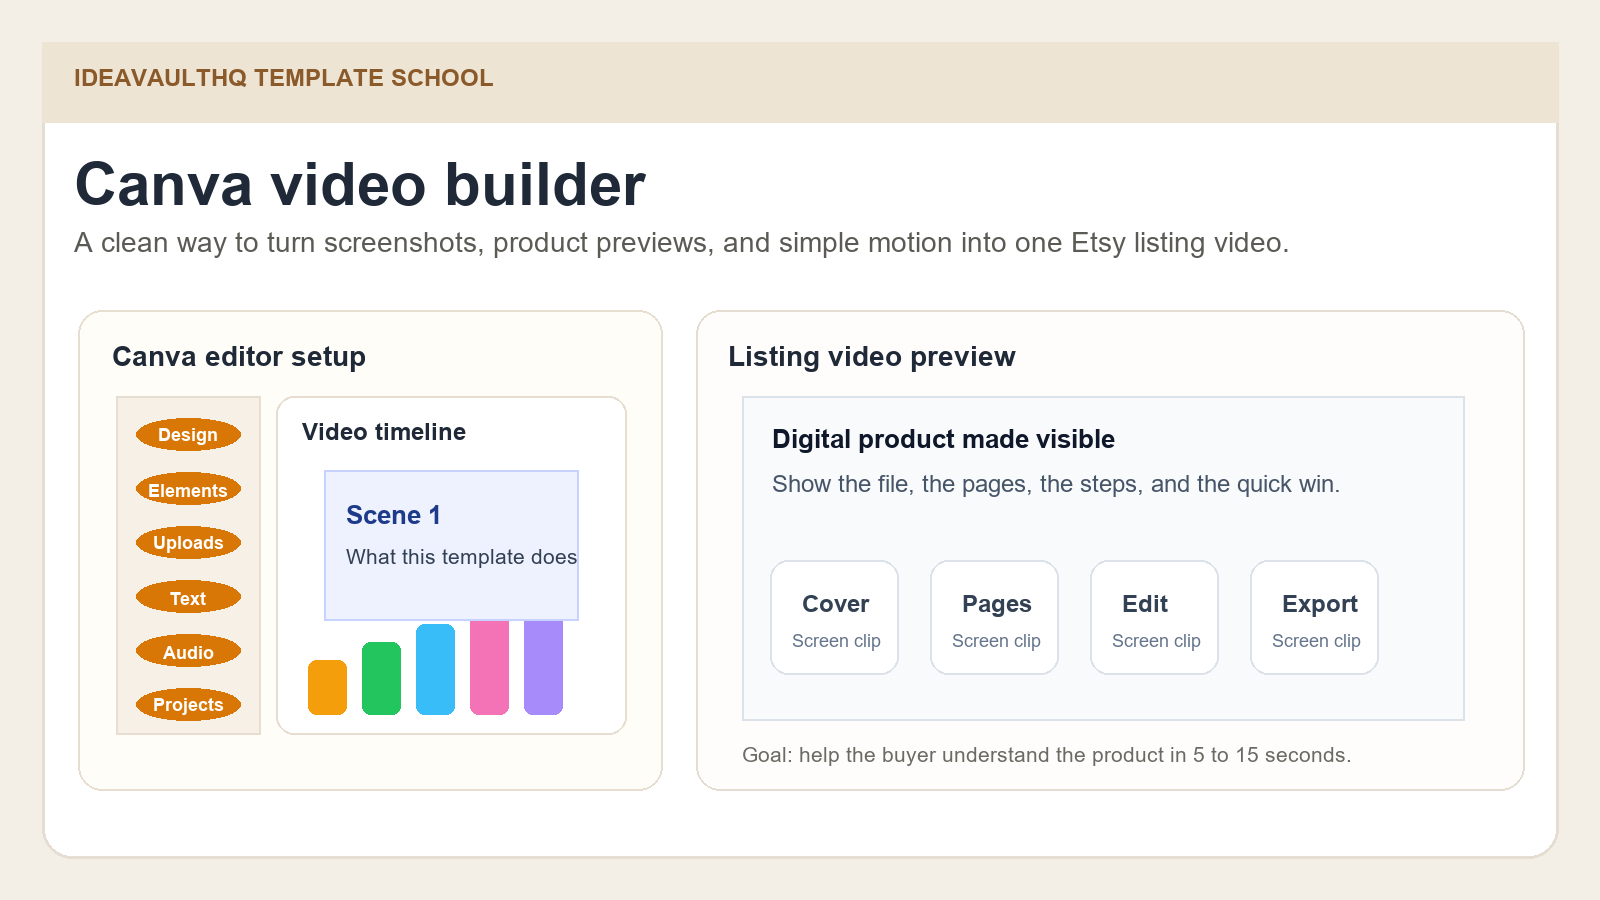
Build A Five-Shot Storyboard
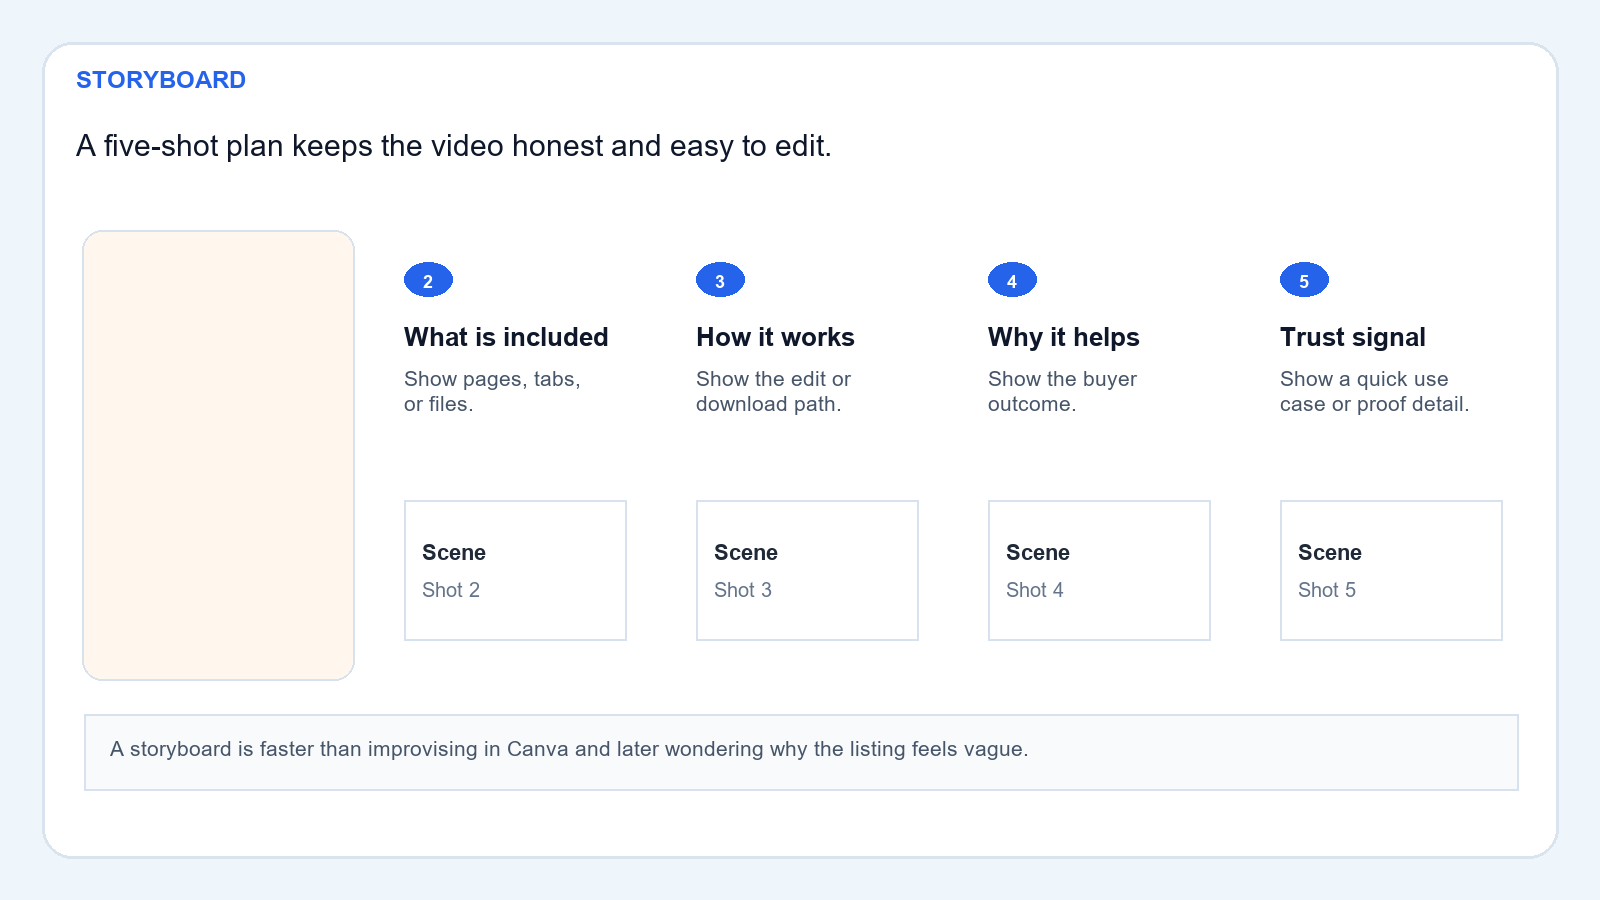
A five-shot storyboard is enough for most Etsy videos. The first shot says what the product is. The second shot shows what is included. The third shot shows how the file works. The fourth shot shows the benefit or use case. The fifth shot reinforces trust or audience fit. You do not need ten scenes to make the point. In fact, too many scenes usually makes the video harder to read on a phone.
Write the storyboard in Notes, a Google Doc, or even on paper. Keep each shot to one line. For example: shot one, product name; shot two, page preview; shot three, edit screen; shot four, use case; shot five, best for beginners. This tiny plan stops you from improvising inside Canva and later wondering why the flow feels random.
The storyboard also helps you decide what to capture from Canva. If one shot needs the editing sidebar, you can record that. If another shot needs the exported page preview, you can switch to a mockup. If another shot needs the instructions page, you can show it briefly. The point is not to make a cinematic story. The point is to create a sequence that answers questions in a predictable order.
Set Up The Canva Project
Open Canva and start a new video project in a square format unless your shop already has a consistent alternative. Square is easy to reuse for Etsy thumbnails, and it also makes the layout simple for beginners. Use one palette, one headline font, and one support font. You are not designing a movie poster. You are building a readable tutorial clip.
Import your screenshots, mockups, or product page previews into the editor. If you are showing a template, use a clean screenshot of the actual design. If you are showing a spreadsheet, use a zoomed crop of the relevant cells. If you are showing a planner, use a page preview with obvious labels. Every item in the scene should help the buyer understand the product faster.
Keep the canvas organized with a simple grid. One area for headline text, one area for the visual, and one area for a small supporting line. If the product includes several pages or tabs, use one scene per item rather than stacking everything into one frame. That keeps the visual readable and gives the clip a natural rhythm.
Make The Frames Readable On Mobile
Mobile readability is the difference between a decent listing video and a useless one. The buyer is usually not watching on a giant monitor. They are browsing in a feed, glancing between listings, and making quick decisions. If your text is tiny or your screenshots are cropped too tightly, the video will fail even if the design looks good at full size.
Use short headlines. Use higher contrast than you think you need. Leave more empty space around the main object than your design instincts might prefer. It is better to have one strong line and one screenshot than three lines and no breathing room. If you have to choose between a stylish background and readable text, choose readability.
Also remember that listing videos are not the place to explain every feature. They are a teaser plus a proof layer. Put the most important claim in the first few seconds. Show the file or template quickly. Then let the rest of the clip confirm that the product is what it says it is. That is enough for most shoppers.
Add Motion Without Making It Feel Fake
Canva gives you enough animation tools to create movement without turning the listing into a cartoon. Use slow zooms, gentle fades, or page transitions that do not obscure the product itself. Motion should make the product easier to see, not harder. If the text bounces, spins, or keeps sliding around the screen, the buyer will spend energy decoding the motion instead of learning about the product.
A simple rule helps here: if the motion would still make sense when viewed at half speed, it is probably safe. If the motion is only impressive because it is fast and flashy, it is probably too much for a listing video. You want the buyer to feel oriented, not impressed for the wrong reason. Clarity is the conversion advantage.
Use motion to move the eye from one question to the next. Start with the product name. Shift to the included pages. Move to the edit or download step. End on the audience fit or benefit. That sequence creates a tiny story, and tiny stories are easier to remember than random visual effects.
Export The Clip The Right Way
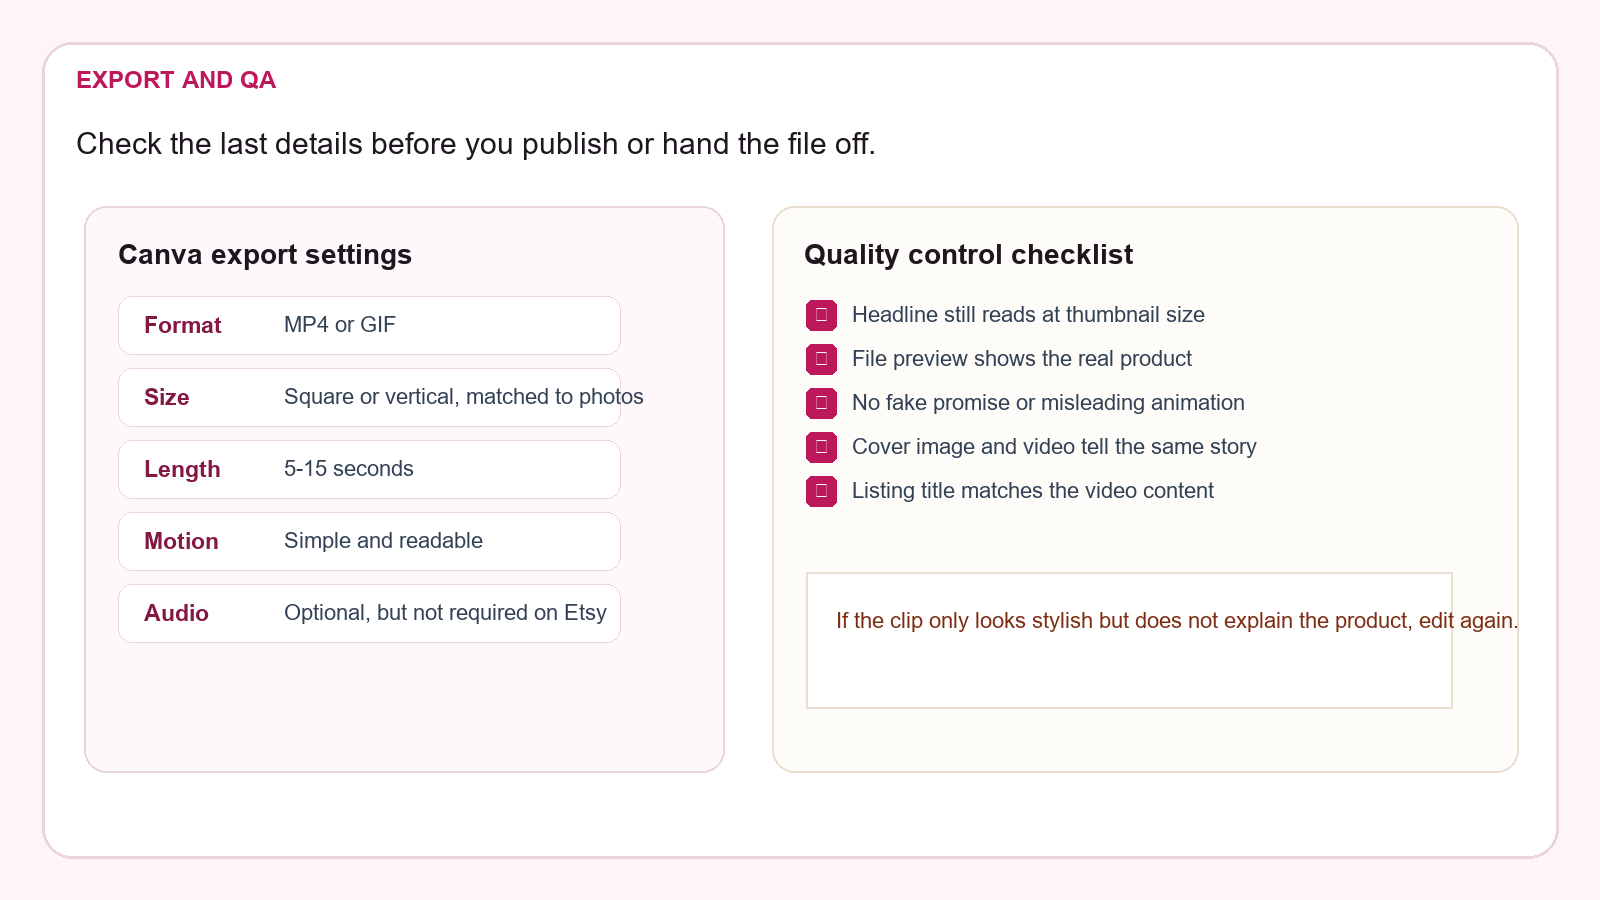
When the draft feels right, export the video and inspect it before uploading. Etsy’s own guidance says listing videos should be short, and the platform clips anything longer than 15 seconds. That means your final export should stay inside that limit so you are not losing control of the pacing at upload time. Shorter is often better for product explanation anyway.
Check three things first: is the headline readable, does the product structure make sense, and does the clip feel honest? If one of those is missing, edit again. It is faster to fix the file now than to publish a vague listing and hope the title rescues it later. A short, clear video is worth more than a polished but confusing one.
Also check the file naming and folder structure on your computer. Save the final export in a folder with the product name and version number so you can find it later. If the listing needs a revision next month, you will want the source file, not just the uploaded video. That small habit saves time when you begin making multiple products.
Upload It To Etsy And Match It To The Listing
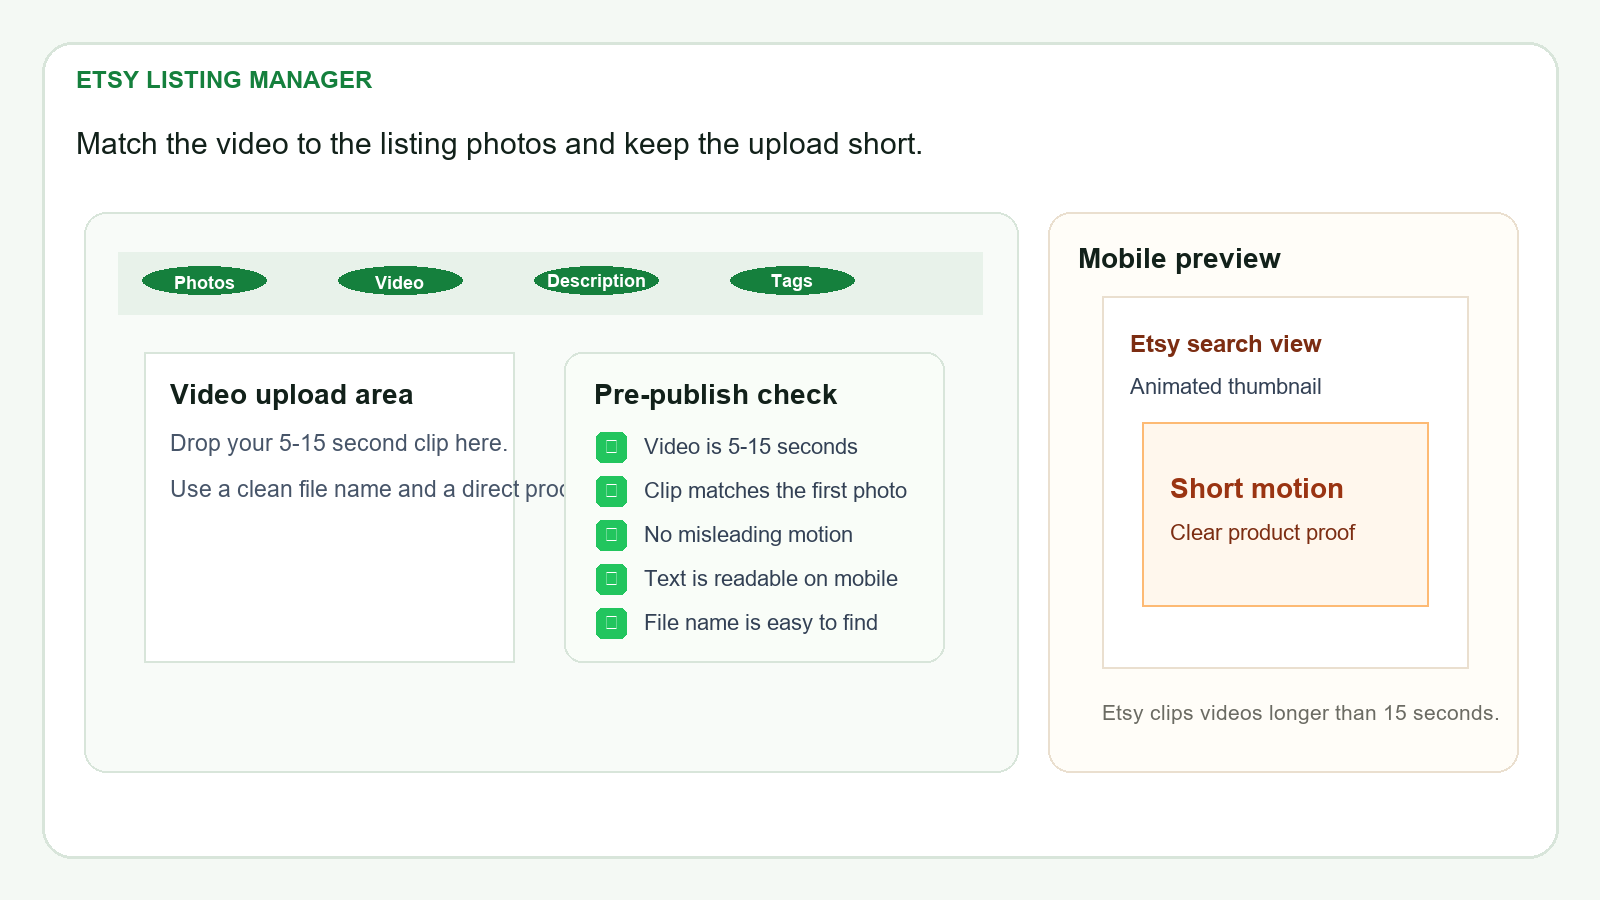
In Etsy, upload the video in the listing manager below the listing photos section. Keep the video aligned with the first photo and the listing title so the buyer gets the same message in every place. If the listing image says one thing and the video says another, you create hesitation. The clip should reinforce, not compete with, the rest of the listing.
Use the description to add the practical details the video does not cover: file format, what happens after purchase, whether the template is editable, and whether the buyer needs Canva or another tool. The video should not carry all of that by itself. It should make the buyer interested enough to read the rest and trust that the product is real.
After upload, preview the listing as if you were a shopper. Look at the video as part of the first impression, not as a bonus feature. If it feels too busy, remove one scene. If it feels too abstract, replace a decorative shot with an actual product preview. The best listing video is usually the one that answers one more question than the photos alone.
Reuse The Workflow For Bundles And Template Packs
Once you have one good video, reuse the system. The story structure works for budget planners, Etsy SEO sheets, product research trackers, mockup packs, prompt packs, and template bundles. You only need to change the story question and the shots that prove the product works. That reuse is where the process becomes valuable.
For a bundle, show the contents in order and make the value obvious. For a planner, show the sections and the writing space. For a template pack, show the editable preview and the key pages. For a spreadsheet, show the tabs and one example of the formula or filter. The exact product changes, but the explanation structure stays the same.
This is also how you scale without reinventing your workflow every time. Keep the same storyboard pattern, the same export check, and the same upload checklist. Then only swap the visual assets and the headline. That kind of repeatability matters more than clever ideas because it lets you publish more useful listings with less friction.
Risks, Limits, And Quality Control
Do not let the video overpromise. If the product is a template, say it is a template. If the file is editable in Canva, say that clearly. If the buyer needs to use their own account or download a PDF, mention it. Misleading videos might get clicks, but they also create refunds and poor trust. The goal is to make the listing easier to buy, not trick someone into buying.
Do not use stock footage that has nothing to do with the product unless it is truly supporting the message. Generic lifestyle clips can look polished, but they rarely help a digital product listing. The buyer needs proof, not mood. If you cannot clearly show the product, show the setup flow or the file structure instead.
Finally, keep revising one variable at a time. If the video does not perform well, change the first frame, not the whole shop. If buyers understand the product but do not buy, look at pricing or the cover photo. If they click but still seem confused, rewrite the title or the first listing image. Small, measured changes will tell you more than a complete redesign.
That is the beginner-friendly path: decide the question, storyboard five shots, build the clip in Canva, export a short honest video, and upload it where Etsy expects it. Once you can do that once, the process becomes a repeatable asset for every template or digital product you create.
How To Get Started Today: pick one live listing, write the buyer question in one sentence, sketch five scenes, and build the first version in Canva before you try to make the video look fancy.
Workflow
Pick the one buyer question the video must answer.
Plan five clips before opening Canva.
Use screenshots, product previews, and clean text.
Keep it short, readable, and honest.
Match the video to the listing photos and title.
Beginner Checklist
- Pick one Etsy listing that needs clearer explanation.
- Write the buyer question in one sentence.
- Sketch five shots before building anything in Canva.
- Use screenshots, file previews, or product mockups instead of random decoration.
- Keep the clip between 5 and 15 seconds.
- Make the first frame readable in a tiny mobile preview.
- Upload the video under the listing photos section in Etsy.
- Test one small change at a time if you revise the listing later.
Copy-Paste ChatGPT Prompt
Use this prompt to plan the listing video before you start editing:
You are helping me create an Etsy listing video in Canva for a digital product.

Product type: [fill in the product]
Buyer question: [fill in the main question]

Give me:
1. A five-shot storyboard
2. The best first frame headline
3. The exact text for each scene
4. A simple motion idea for each scene
5. The Etsy upload checklist
6. One short warning about what not to overpromise

Keep the plan realistic, beginner-friendly, and designed for a 5-15 second Etsy listing video.
Idea Tags
Continue Learning On IdeaVaultHQ
This post fits the Template School path. Keep moving with the next practical tutorial instead of stopping here.
- IdeaVaultHQ home page
- How To Build an Etsy Search Visibility Tracker in Google Sheets for Canva Templates
- How To Package Canva Templates for Etsy Buyers in Google Drive
- How To Use Canva Bulk Create to Make Etsy Listing Images Faster
- How To Make Etsy Listing Images in Canva for Digital Products
- Template Tutorials
- How To Design Templates
- Canva Templates
- Sell On Etsy
Current Source Links
- Etsy Seller Handbook: How to Take Listing Videos With Your Smartphone
- Etsy Seller Handbook: 3 Types of Listing Videos That Online Shoppers Love
- Canva Help: Create and edit videos
- Canva Help: Create mockups using images or designs
- Canva Help: Share your design as a template link
- Recent public seller discussion: listing videos help shoppers pay more attention
Continue Learning On IdeaVaultHQ
This guide is part of the IdeaVaultHQ Template School path. Use the links below to keep moving instead of stopping on one article.
Leave a Reply